Sourdough bakers are a patient bunch. We nurture bubbles, coax rise, and know that every good loaf begins with a thriving starter. But even seasoned bakers who have cultivated starters from scratch can be surprised when they try to rehydrate a dehydrated heirloom sourdough starter and find… nothing happens.
The process of creating a sourdough starter from scratch and reviving an heirloom starter might look similar—a bit of flour, a bit of water, some waiting—but biologically and behaviorally, they’re worlds apart. Understanding these differences can mean the difference between a sluggish jar of paste and a lively, heritage starter full of flavor and history.
What’s the Difference Between Creating a Starter and Rehydrating an Heirloom One?
When you make your own starter from scratch, you’re essentially breeding a new ecosystem. The wild yeast and bacteria that end up thriving come from your flour, your water, and even the air around you. No two homemade starters are ever quite the same.
An heirloom sourdough starter, on the other hand, is a living, historical culture—passed down and carefully preserved. It contains specific strains of yeast and lactobacilli that may have been cultivated for hundreds (or even thousands) of years. For example, an Italian monastery starter or a 100-year-old Alaskan Gold Rush starter has a unique microbial fingerprint that gives it its distinct flavor and behavior.
So when you rehydrate an heirloom starter, you’re not creating new life—you’re waking up old life. That means your role shifts from creator to caretaker.
Biological Snapshot
| Homemade Starter | Heirloom Starter | |
|---|---|---|
| Origin | Local wild yeast and bacteria | Preserved, specific microbial culture |
| Goal | Encourage new microbial life | Reactivate dormant yeast and lactobacillus |
| Timeline | 5–10 days | 3–10 days (can vary) |
| Process | Cultivation | Revival |
| Result | Local flavor | Historic, consistent flavor |
Why Heirloom Cultures Can Be Tricky
1. They’re in recovery mode

Dehydration is stressful. Most microorganisms survive, but they’re dormant and fragile. They need gentle hydration, warmth, and time—not aggressive feeding schedules.
2. Water chemistry matters
Tap water often contains chlorine or chloramine, which are designed to kill microbes. That’s great for drinking (er… maybe), not so great for sourdough. Use filtered or spring water for the first 7–10 days. Once your starter is healthy, it will tolerate most tap water.
3. Temperature makes or breaks revival
Heirloom starters prefer warmth—75–82°F (24–28°C). Below 70°F, activity slows dramatically. Keep your jar in a warm spot, like near your oven light or wrapped in a towel.
4. Too much food too soon
When rehydrating, feeding too heavily can dilute the few living yeast cells before they multiply. Start with small feedings (1:1:1 or 1:2:2 ratios) until activity begins.
Step-by-Step Guide to Rehydrating an Heirloom Sourdough Starter
- Day 1: Mix equal weights of starter powder, warm (85°F) filtered water, and flour. Stir well and let sit covered at room temperature.
- Days 2–3: You may not see bubbles yet. Stir once or twice daily to oxygenate.
- Days 4–5: Start feeding daily with 1:1:1 (starter:flour:water). Keep it warm.
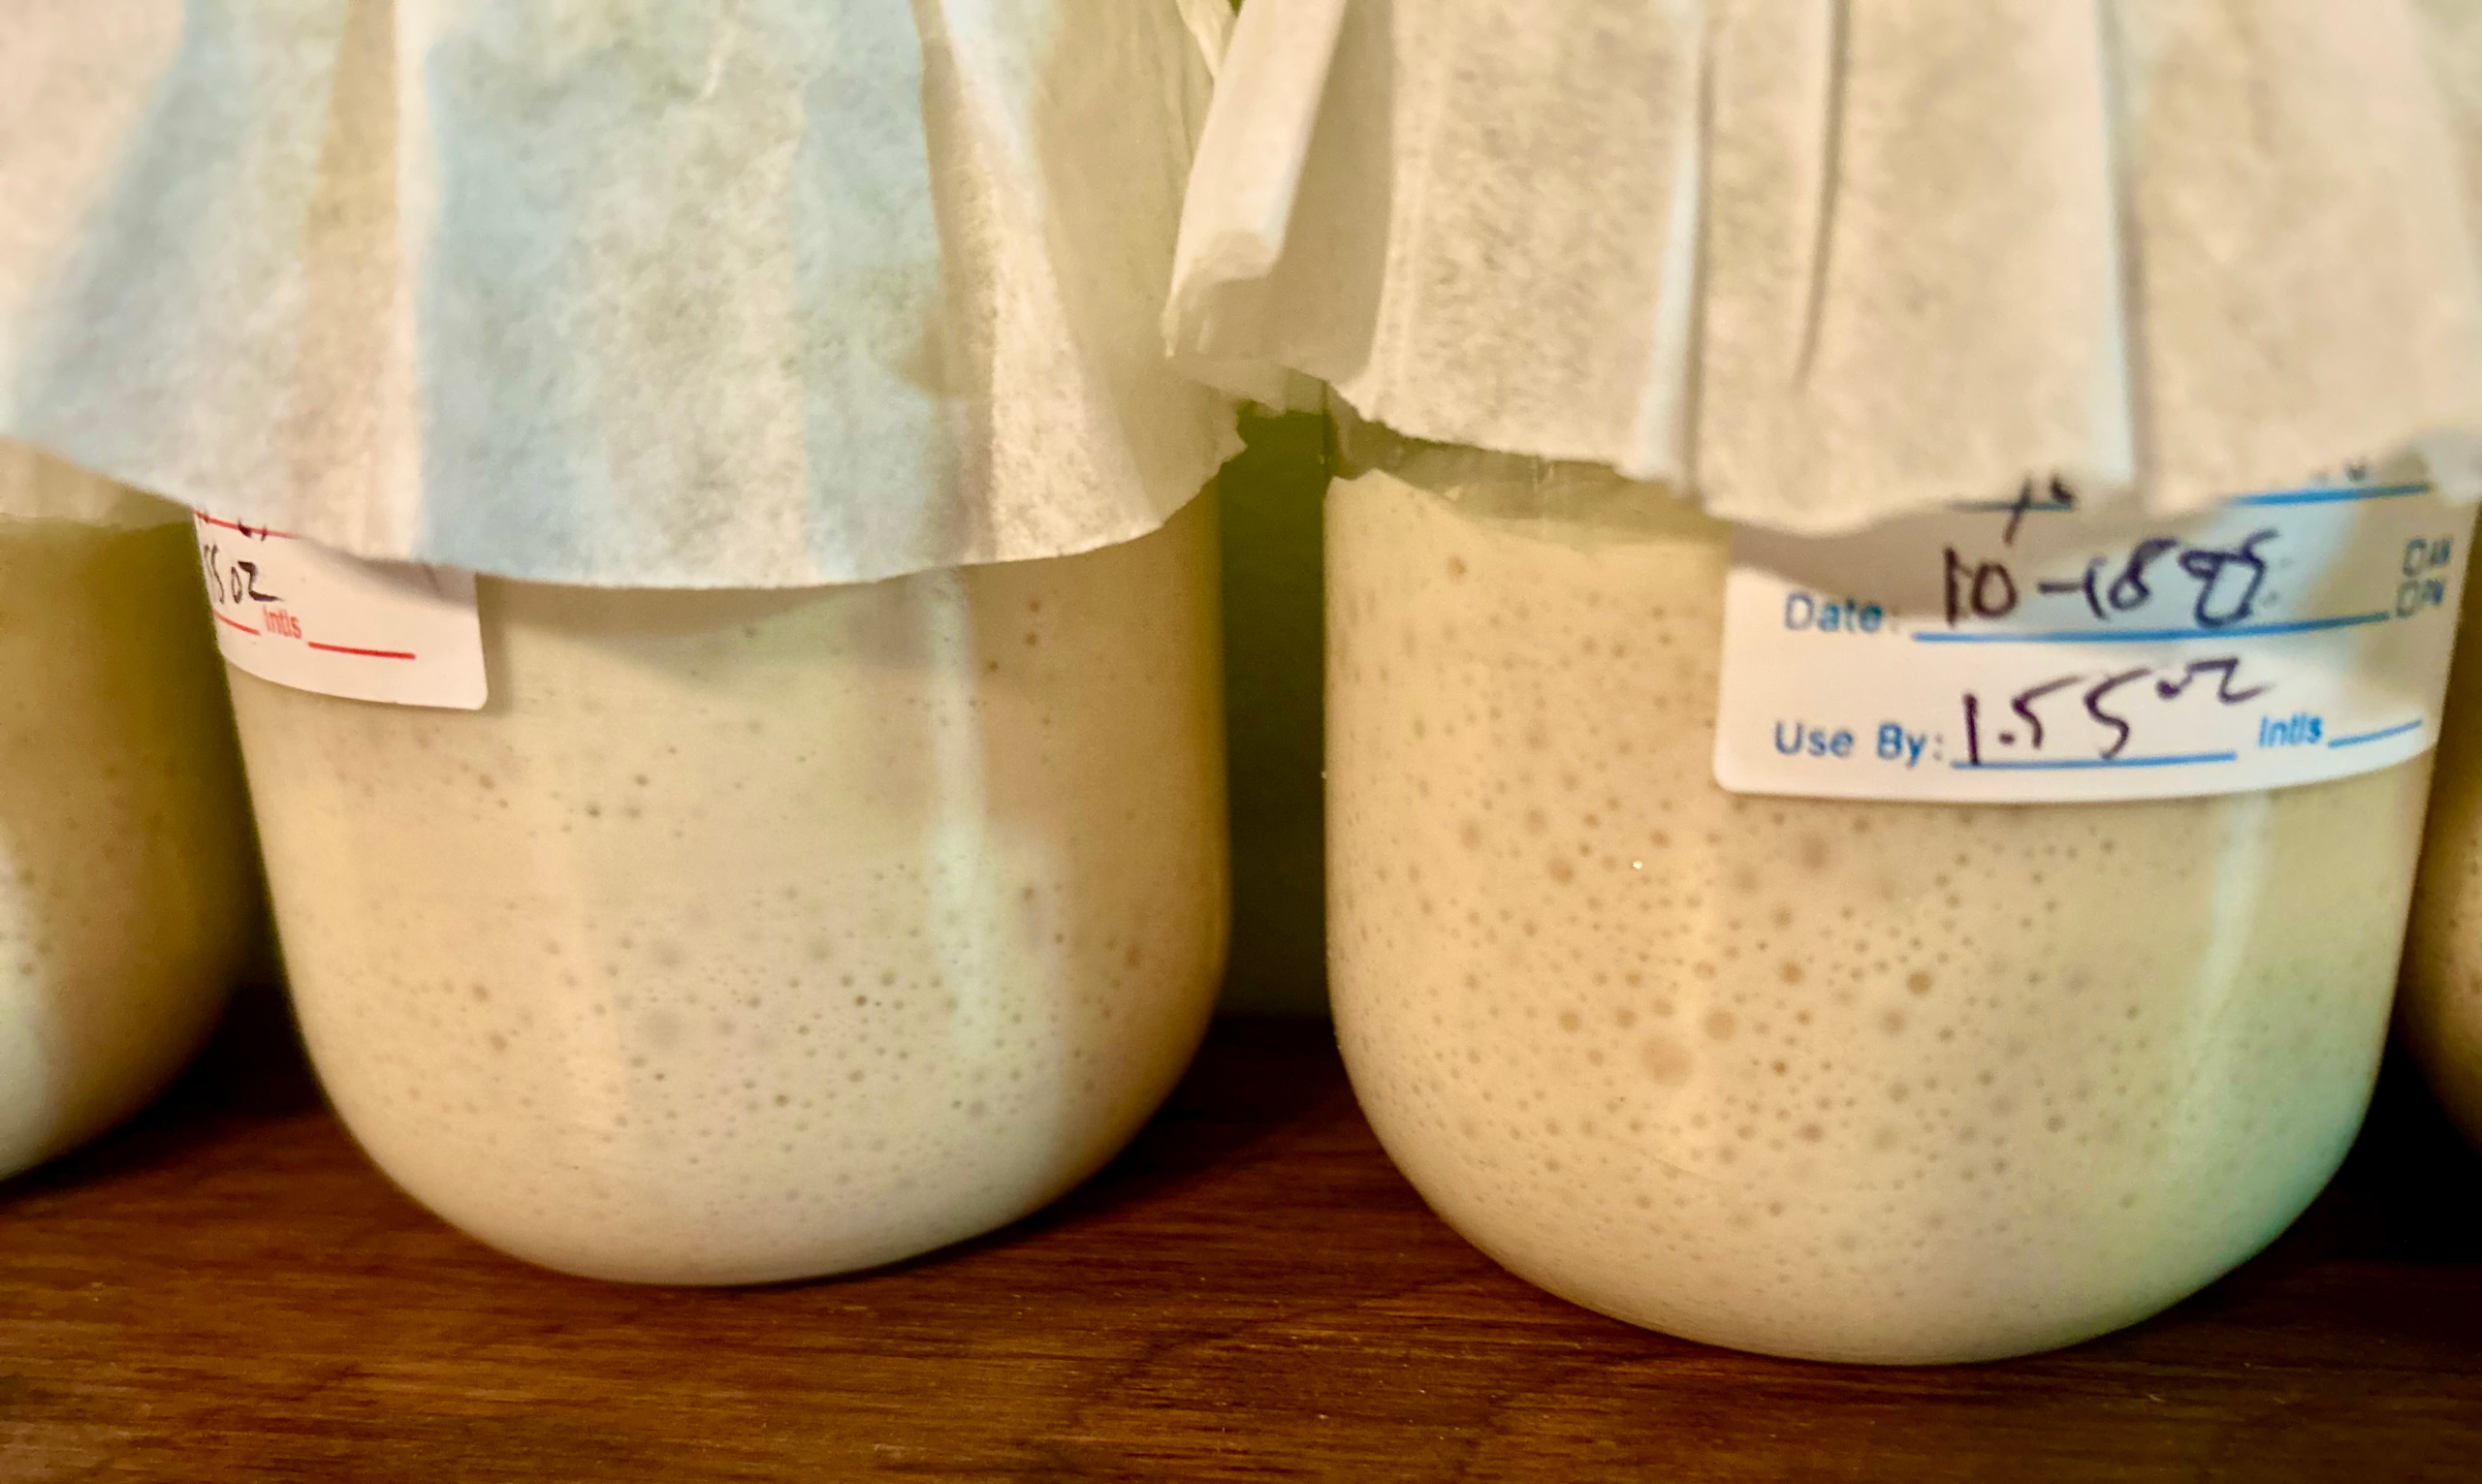
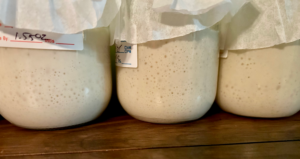
- Days 6–7: Look for faint bubbles, tangy aroma, and slight rise.
- Days 8–10: Once it doubles within 4–6 hours of feeding, it’s fully revived.
- Maintenance: Feed 1:1:1 or 1:2:2 every 12–24 hours at room temperature or store refrigerated.
Tip: Using a bit of whole wheat or rye flour in the first few days often jumpstarts activity because these flours are richer in minerals and wild yeast.
Troubleshooting Common Problems
No bubbles, no rise, no smell
- Check your water (use filtered).
- Warm up your environment (aim for 80°F).
- Stir often and be patient—some heirlooms take up to 10 days.
- Try a small “revival feed” with whole wheat flour.
Smells sour but won’t rise
- You may have too much acid buildup. Feed a larger ratio (1 part starter to 3 parts flour and water each).
- Keep it warmer for a few days.
Rose once, then went flat again
- You likely need more frequent feedings now that it’s waking up.
- Check that you’re using fresh flour and not overfeeding.
Gray liquid on top (hooch)
- Normal. Stir it back in or pour it off and feed. It just means your starter is hungry.
Why It’s Worth the Effort
Once revived, an heirloom starter is a baking companion for life. These cultures have survived through generations because they’re resilient and flavorful. You’re not just baking bread—you’re continuing a microbial heritage.
Many heirloom starters have subtle but distinct personalities:
- Italian: Mild and balanced, ideal for ciabatta and focaccia.
- Alaskan: Strong, tangy, perfect for rustic sourdough loaves.
- Oregon Trail: Deep, complex flavor with historical roots.
- San Francisco: Classic tang and predictable fermentation.
A Shift in Mindset: From Creator to Caretaker
If you’re a seasoned baker used to building starters from scratch, rehydrating an heirloom starter might feel slow. But the process is restorative, not generative. Think of it like nursing an old bonsai back to health rather than growing a new seedling. Once it recovers, it will reward you with reliable fermentation, deep flavor, and a tangible connection to baking history.
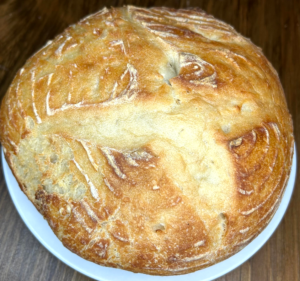
Jerusalem Artichoke Rustic Sourdough Bread
Little Tree Food Forest on Etsy
Keywords: heirloom sourdough starter, dehydrate heirloom sourdough starter, heirloom sourdough starter vs. creating a starter, guide to heirloom sourdough starter feeding, heirloom sourdough starter guide, how to rehydrate heirloom sourdough starter