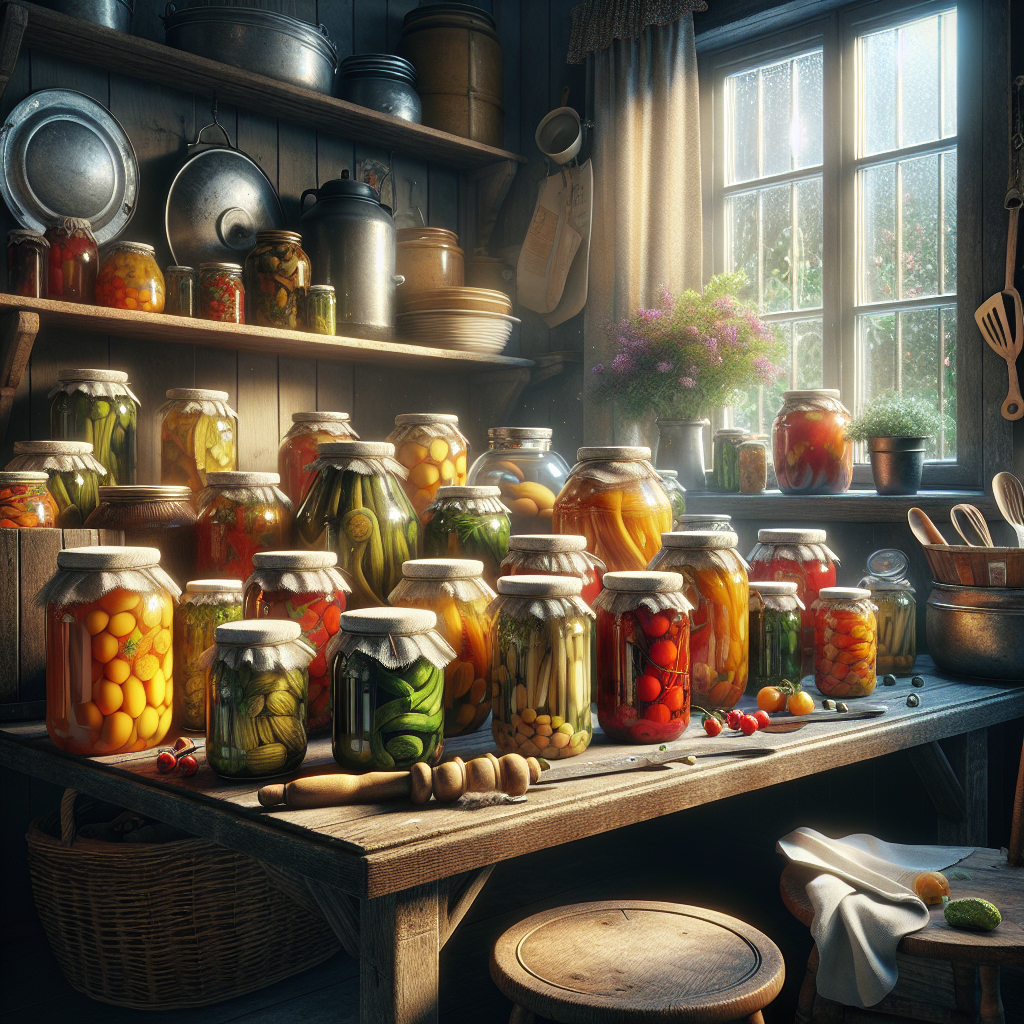
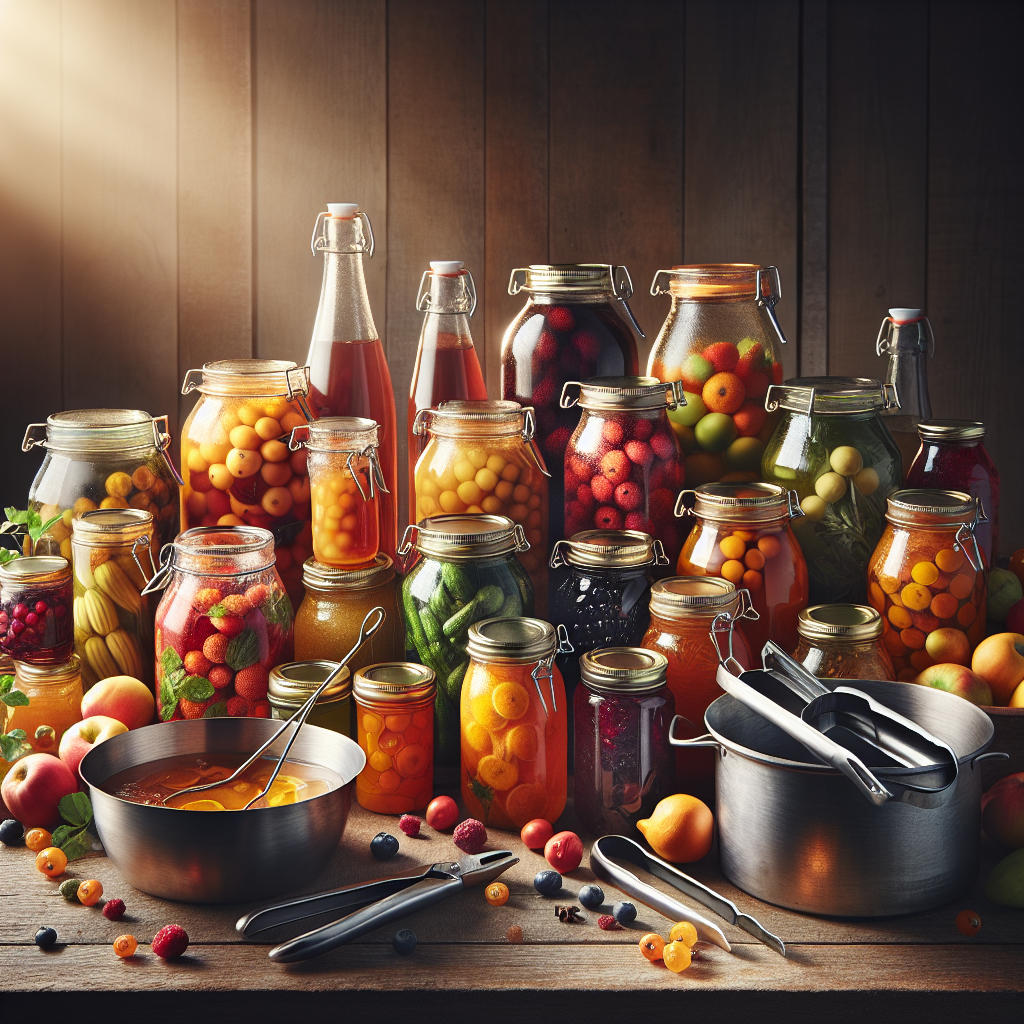
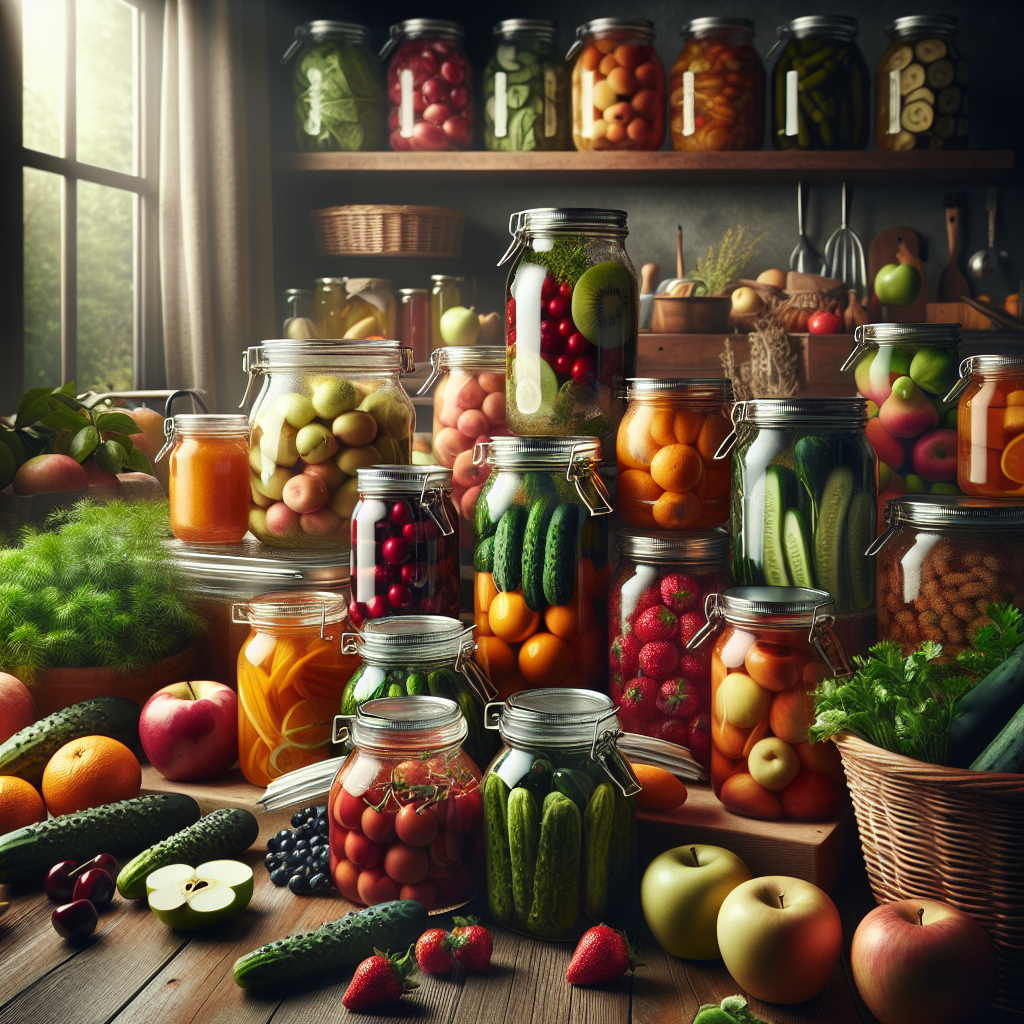
Welcome to the world of home canning! Whether you’re a seasoned homesteader or just starting your journey, canning provides a fantastic way to preserve your garden’s bounty and enjoy the flavors of summer all year round. By learning the home canning basics, you’ll not only reduce food waste but also create a pantry stocked with nutritious, homemade goodness.
Home canning involves sealing food in jars and processing them to destroy microorganisms that could cause spoilage. The process might seem daunting at first, but with the right knowledge and equipment, it becomes a rewarding and straightforward activity. The key to successful canning is understanding the different methods, such as water bath canning and pressure canning, and knowing which method is appropriate for different types of food.
In this guide, we’ll cover everything you need to know to get started, from the essential equipment to safety tips and step-by-step instructions. Our aim is to provide you with the confidence and skills to embark on your canning journey. Visit our website to learn more and get started today! Click here.
Essential Home Canning Equipment

Before diving into the canning process, it’s crucial to have the right tools at your disposal. Investing in essential home canning equipment will not only make the process smoother but also ensure the safety and quality of your preserved foods. Here’s a rundown of the must-have items for any canning enthusiast:
- Canning Jars: These are specially designed jars that can withstand the high temperatures of the canning process. They come in various sizes, typically ranging from half-pint to quart.
- Lids and Bands: Canning lids come in two pieces: a flat lid with a sealing compound and a screw-on band to hold the lid in place during processing.
- Water Bath Canner: A large pot with a rack used for processing high-acid foods like fruits, jams, and pickles. It ensures that the jars are fully submerged in boiling water.
- Pressure Canner: Essential for low-acid foods such as vegetables, meats, and soups. This specialized equipment reaches higher temperatures than a water bath canner, effectively eliminating harmful bacteria.
- Jar Lifter: A vital tool for safely removing hot jars from the canner without burning yourself.
- Funnel: A wide-mouth funnel helps you pour liquids and solids into jars without making a mess.
- Bubble Remover/Headspace Tool: This tool helps remove air bubbles from the jars and measure the correct headspace, ensuring a proper seal.
- Ladle: An essential for transferring hot liquids into jars.
With these tools at your fingertips, you’ll be well-equipped to start your canning adventure and ensure that your preserved foods are safe and delicious.
Step-by-Step Canning Process

Once you have your essential equipment ready, it’s time to dive into the step-by-step canning process. Whether you’re preserving fruits, vegetables, or meats, following these steps will help ensure your canned goods are safe and delicious.
- Preparation: Start by gathering your ingredients and equipment. Wash your canning jars, lids, and bands in hot, soapy water and rinse thoroughly. Keep the jars warm until ready to use to prevent cracking when filled with hot contents.
- Pre-Cook Foods: Depending on the recipe, you may need to cook your food before canning. This step ensures that the food is at the right temperature and consistency before being packed into jars.
- Fill Jars: Using a funnel, pack hot food into the warm jars, leaving appropriate headspace as specified in your recipe. Removing air bubbles with a bubble remover tool is crucial for a good seal.
- Wipe Rims and Seal: Wipe the rims of the jars with a clean, damp cloth to remove any residue. Place the flat lids on top and screw on the bands until fingertip tight.
- Processing: Depending on whether you’re using a water bath canner or a pressure canner, process the jars according to the recipe’s specified time and method. For high-acid foods, use a water bath canner; for low-acid foods, a pressure canner is necessary.
- Cooling: After processing, carefully remove the jars using a jar lifter and place them on a towel or rack to cool. Leave them undisturbed for 12 to 24 hours.
- Check Seals: Once the jars have cooled, check the seals by pressing down in the center of each lid. If it doesn’t pop back, the jar is sealed. Any unsealed jars should be refrigerated and used promptly.
- Label and Store: Finally, label your jars with the date and contents before storing them in a cool, dark place. Properly canned foods can last up to a year or more.
By following these steps meticulously, you’ll ensure that your home-canned goods are not only tasty but also safe to eat.
Safety Tips for Home Canning
Ensuring safety in home canning is essential to prevent foodborne illnesses and spoilage. Here are some critical safety tips for home canning:
- Use Tested Recipes: Always use recipes from reliable sources like the USDA or university extension services. These recipes are tested for safety and ensure the correct acidity and processing times.
- Proper Sterilization: Sterilize jars and lids by boiling them in water for at least 10 minutes before use. This step kills harmful bacteria and prepares the jars for safe food storage.
- Check for Jar Integrity: Inspect your canning jars for cracks or chips. Damaged jars can break during processing or fail to seal properly, leading to contamination.
- Use the Right Equipment: Different foods require different canning methods. High-acid foods like fruits and pickles can be processed in a water bath canner, while low-acid foods like vegetables and meats require a pressure canner to prevent botulism.
- Follow Headspace Guidelines: Leave the recommended headspace between the food and the jar rim. Too little or too much headspace can affect the seal and lead to spoilage.
- Remove Air Bubbles: After filling jars, use a non-metallic utensil to remove air bubbles. This step ensures a proper seal and even heat distribution during processing.
- Monitor Processing Times: Follow the recommended processing times and methods for each food type. Underprocessing can lead to unsafe foods, while overprocessing can affect the food’s texture and flavor.
- Check Seals: After jars have cooled, check the seals by pressing the center of each lid. If the lid moves or makes a popping sound, the jar is not sealed and should be refrigerated and consumed promptly.
- Storage Conditions: Store canned goods in a cool, dark place. Avoid areas with fluctuating temperatures, such as garages or near heat sources, to maintain the quality and safety of your canned foods.
By adhering to these safety tips, you can enjoy the fruits of your labor with confidence, knowing that your home-canned goods are both delicious and safe.
Common Home Canning Mistakes

Even seasoned canners can make mistakes that compromise the safety and quality of their preserved foods. Here are some common home canning mistakes to avoid:
- Using Unapproved Recipes: Not all recipes are created equal. Avoid using untested or outdated recipes that may not adhere to current safety standards. Stick to trusted sources like the USDA or university extension services.
- Skipping the Sterilization Step: Failing to sterilize jars and lids properly can introduce harmful bacteria into your canned goods. Always boil jars and lids for at least 10 minutes before use.
- Improper Headspace: Incorrect headspace can lead to seal failures or spoilage. Follow the recommended headspace guidelines for each type of food you’re canning.
- Ignoring Air Bubbles: Air bubbles trapped in the jar can affect the seal and cause spoilage. Use a non-metallic utensil to remove air bubbles after filling jars.
- Overfilling or Underfilling Jars: Both overfilling and underfilling can compromise the seal. Ensure you fill jars to the correct level as specified in your recipe.
- Incorrect Processing Times: Underprocessing can result in unsafe food, while overprocessing can deteriorate the food’s quality. Always adhere to the recommended processing times and methods.
- Using the Wrong Canning Method: High-acid foods can be safely processed in a water bath canner, but low-acid foods require a pressure canner to prevent botulism. Using the wrong method can lead to dangerous contamination.
- Not Checking Seals: After processing, always check the seals by pressing the center of each lid. A properly sealed lid will not flex up or down. If it does, the jar is not sealed and should be refrigerated for immediate use.
- Improper Storage: Storing canned goods in areas with fluctuating temperatures or direct sunlight can affect their quality and safety. Keep your canned foods in a cool, dark place.
Avoiding these common mistakes can help ensure that your home-canned foods are safe, delicious, and long-lasting. Pay attention to details and follow established guidelines to enjoy the best results from your canning efforts.
Benefits of Home Canning

Home canning is more than just a method of food preservation; it’s a rewarding practice that brings numerous benefits to your kitchen and lifestyle. Here are some compelling reasons to start home canning:
- Cost Savings: By canning your own fruits, vegetables, and even meats, you can save a significant amount on your grocery bills. Purchasing produce in bulk or growing your own garden can further reduce costs.
- Reduced Food Waste: Home canning allows you to preserve surplus produce that might otherwise go to waste. This is especially useful during harvest seasons when your garden produces more than you can consume fresh.
- Enhanced Flavor and Quality: When you can your own food, you control the quality of ingredients. This means no preservatives, artificial flavors, or excessive salts. The result is delicious, fresh-tasting food that often surpasses store-bought alternatives.
- Convenience: Having a pantry stocked with home-canned goods means you’ll always have quick and easy meal options available. It’s perfect for busy days when you need a healthy meal in minutes.
- Emergency Preparedness: Home-canned foods can be a crucial part of your emergency food supply. They are shelf-stable for long periods, making them ideal for natural disasters, power outages, or other emergencies.
- Health Benefits: Canning at home allows you to avoid the additives and preservatives found in many commercially canned goods. This can lead to healthier eating habits for you and your family.
- Environmental Impact: By canning at home, you reduce the need for disposable packaging and the carbon footprint associated with transporting store-bought canned goods. Using reusable jars also minimizes waste.
- Satisfaction and Tradition: Home canning connects you to a time-honored tradition that many find deeply satisfying. The process itself can be a fun and fulfilling hobby that you can share with family and friends.
Ready to experience the benefits of home canning for yourself? Visit our website to learn more and get started today!
Subscribe to our newsletter to get information delivered to your inbox on homesteading, growing food, food preparation, travel, fishing, and more.


